

*Disclaimer: You are not required to paint your models to play a game, and if that game does require models to be painted, I would personally reevaluate my interest in that game.
Hello everyone, and welcome to another edition of Tales from a Casual, and today we’re going to continue our series on “Where do I begin?” in the hobby world. In the first article (here), we covered getting started building your models, and the next logical step is to start playing with them immediately get them painted. Grab a snack and a drink and get comfortable as this one is going to be a long one.
Paint can be broken down into three steps:
- Priming
- Painting
- Varnishing
Painting… A Primer
Everything in the hobby world can be argued, and primers are no exception. There are spray on primers, brush on primers, and airbrush primers, and they all have their pros and cons.
Brush on primers are by far the “easiest” to use as you just need the primer and a brush, and then just brush on a thin coat. The downside is it’s a little more difficult to protect very fine details, and you can potentially be left with brush strokes which may be visible in your final product.

Spray on, or rattle can, primers are probably the most common of the primers that are used. Most paint companies also produce a primer that they sell alongside your other paints. I guess it really boils down to there are more choices for spray on primer than you will inevitably have time to paint. My local game store sells Citadel and Army Painter brands for spray on primer. A friend of mine swears by the $3 can of black primer he gets from a big box store. Your mileage will inevitably vary not only between brands, but also between individual cans.
Important things to keep in mind with spray on primer:
- There are fumes. Cans of primer contain paint and a solvent, and the solvent smells. You will need to either prime in a well-ventilated area, or outside.
- When priming outside, the weather will affect your coverage. Ideally, you should be spraying when temperatures are between 50°F and 90°F (or 10°C and 32°C), and relative humidity of under 50%. Outside of these ranges, your paint either won’t adhere properly, will be gummy, chalky, or splotchy.
- Lots of can shaking.
Usually when I use a spray primer on a too hot or too cold day, I’ll keep all my miniatures near the door outside, and shake the can/mix the paint before going outside. I take 1-2 minis at a time, prime them with a light coat, wave them off for 10-20 seconds, then bring them back in and place them in a window with a fan blowing out for 10 minutes after the last mini was primed. This will usually keep the strong solvent smell out of the house, will allow me to prime outside, and gives me decent coverage. On an ever elusive “Spring” day, I’ll prime them, and leave them outside for half and hour to properly air out.
Last, and not least, is airbrush priming. I acquired an airbrush last Christmas, and it has been an ever-present work horse in my growing arsenal of hobby tools. All the benefits of spray priming, but I can do it in doors. I have a spray booth set up near a window, with fans and ducting leading out a window, and I can usually prime 10 minis in about 7-8 minutes. The downside to an airbrush is the learning curve and clean up. It took me a while to discover my “golden ratio” of paint to thinner to air pressure in order to not spray too thin, but also not to spray so thick it clogs and wastes time and paints, cleaning the airbrush out. Speaking of cleaning, unlike regular brush on paint, the airbrush needs to be cleaned, and color removed between each color. This can take up all the time you saved by airbrushing instead of using a spray can. The benefit however is nice thin coats, and I don’t have to go outside.
So, you want to paint?
Alright, your model is primed and you’re ready to start adding paint. Let’s talk tools:
- Basics
- Some Paint
- Something to paint with
- Something to put paint on
- Advanced
- Handles
- Pallets
- Lenses
If this is your first model, I’ll preface this section…
DON’T GO OUT AND DROP A BUNCH OF CASH ON STUFF!
It’s your first model, it’s not going to be pretty. Here’s my first mini.
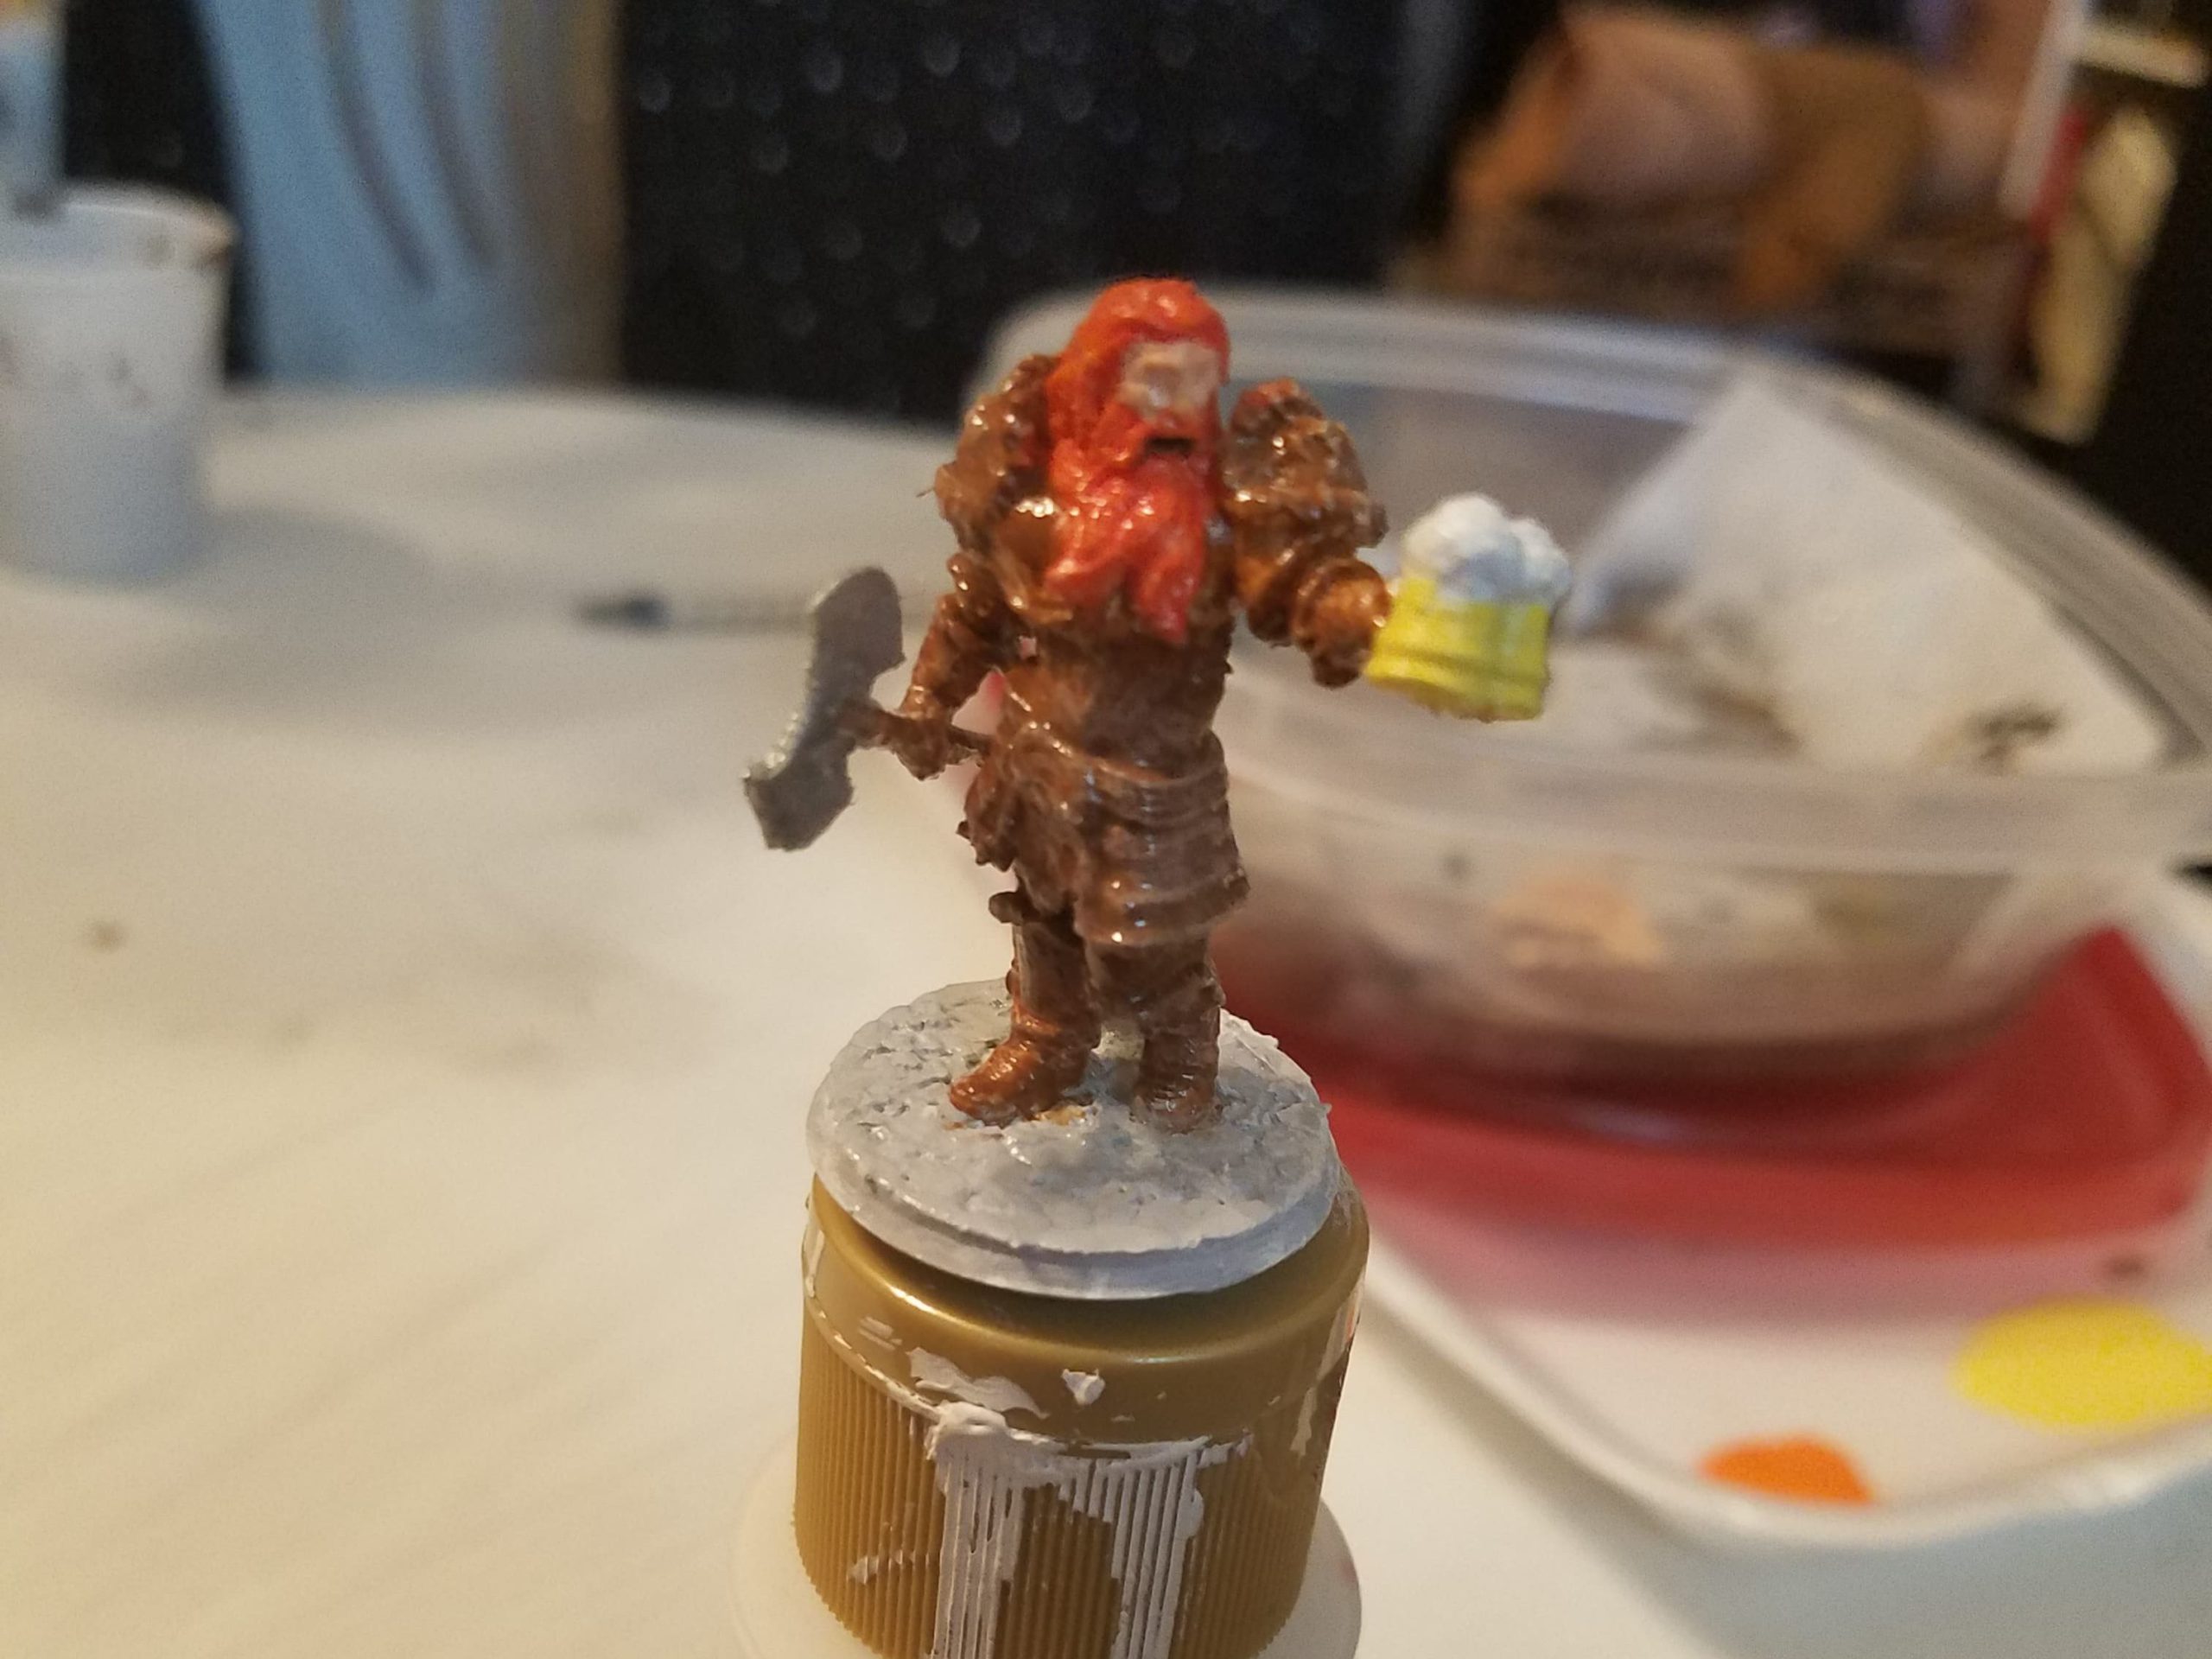
Here’s my first MCP Mini.
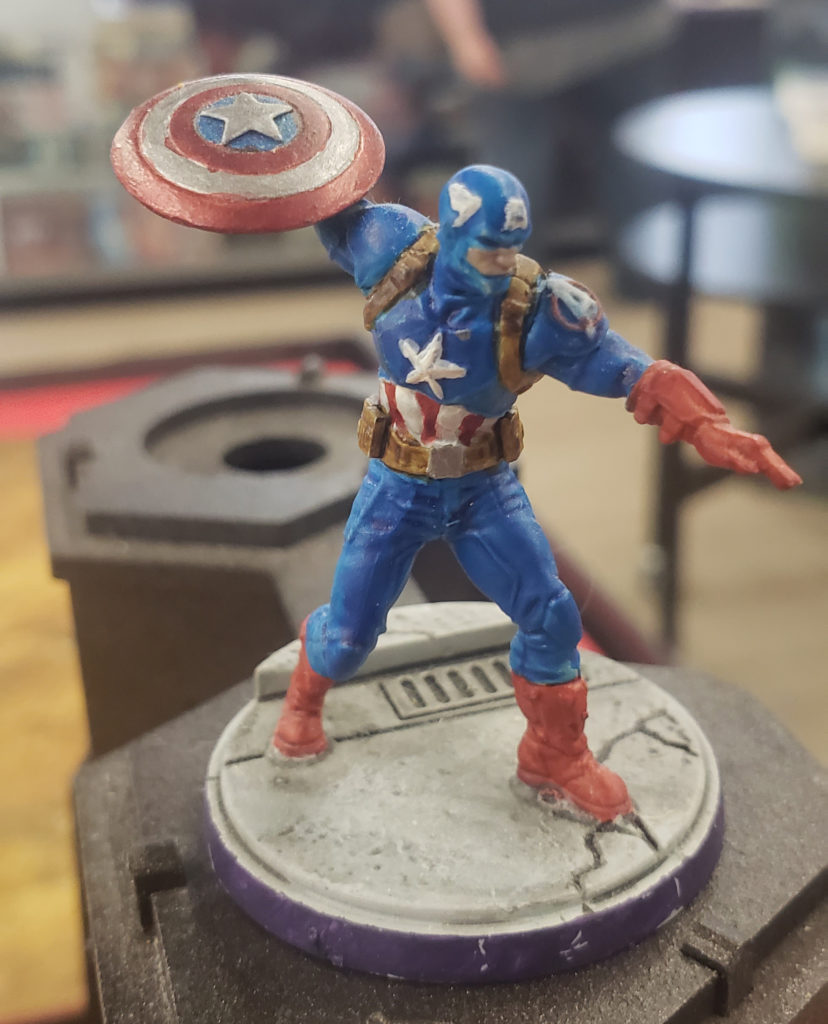
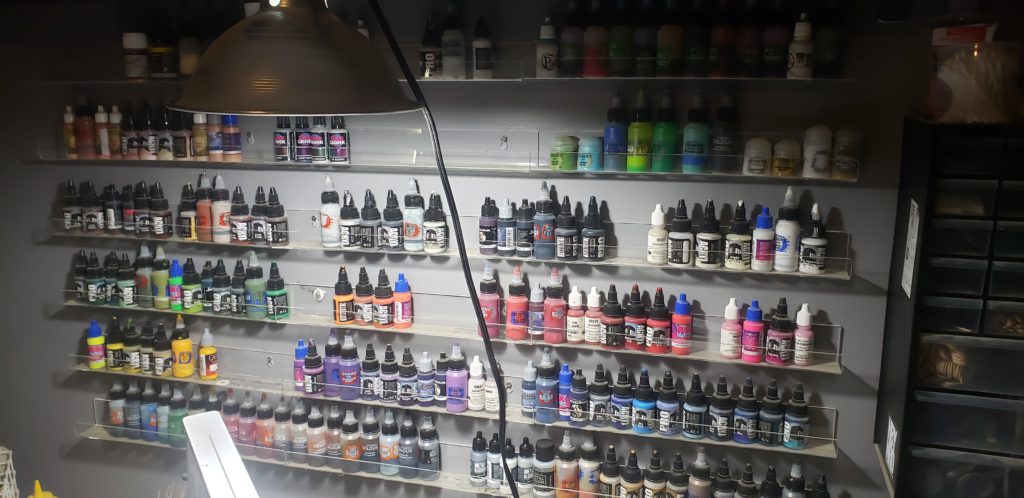
Now that we’ve gotten the ugly pictures out of the way, we can get into the real talk. You’re going to need paints, and a brush. Craft paints, while not ideal, are cheap, and can be used to paint minis. You will likely not have amazing results, but you’re getting paint on a model. My recommendation for paints is to find a starter set from companies like Citadel, Reaper, Army Painter, etc. Most of these sets will usually have the basic colors, a flesh tone or two, and a metallic paint. These are great to get you started because they typically have better pigments than craft paints and can be applied more easily to a model than paints meant for craft projects. The important thing to look for when selecting paints is the type of paint. You are looking for Acrylic paints, not enamels. Acrylic paints are water based, and don’t require special solvents or thinners to use. Enamels and oil paints do require special solvents and thinners, and are not generally recommended for new painters.
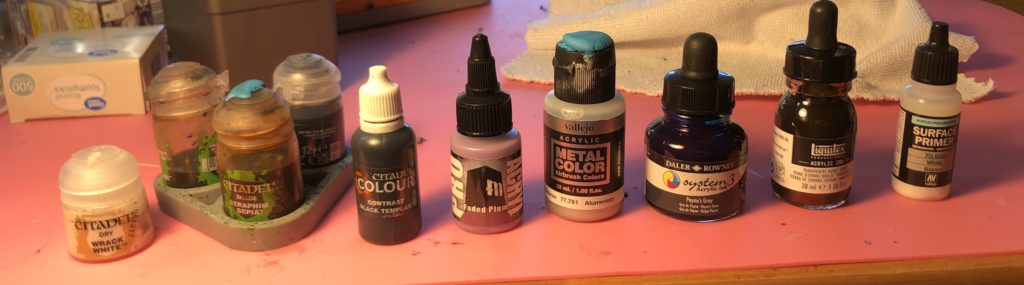
My second recommendation is to visit your local game store and talk to the people playing with painted models. Ask them what paints they use; ask them what colors they think would work well for a specific model. The benefit to this is, not all paints from a particular company are good paints. My paint collection is a mixture of different colors from different brands, a lot of which were recommendations from friends, other hobbyists, and employees from different game stores I’ve been to.
Now that the paint talk is out of the way. Let’s get into brushes. Yes, the expensive brushes are nice. They aren’t, however, a necessity to get into painting. I’ve purchases several nice brushes, expensive brushes, but I’ve yet to use them. I get by with a set of synthetic brushes I purchases on Amazon, and when they get worn out, I buy another set. I’ll leave a link at the bottom, in case you are interested, and because it’s about time for me to pick up another set anyway.
Two things will allow you to get quality results with a cheap brush:
- Having a good tip
- Properly caring for them
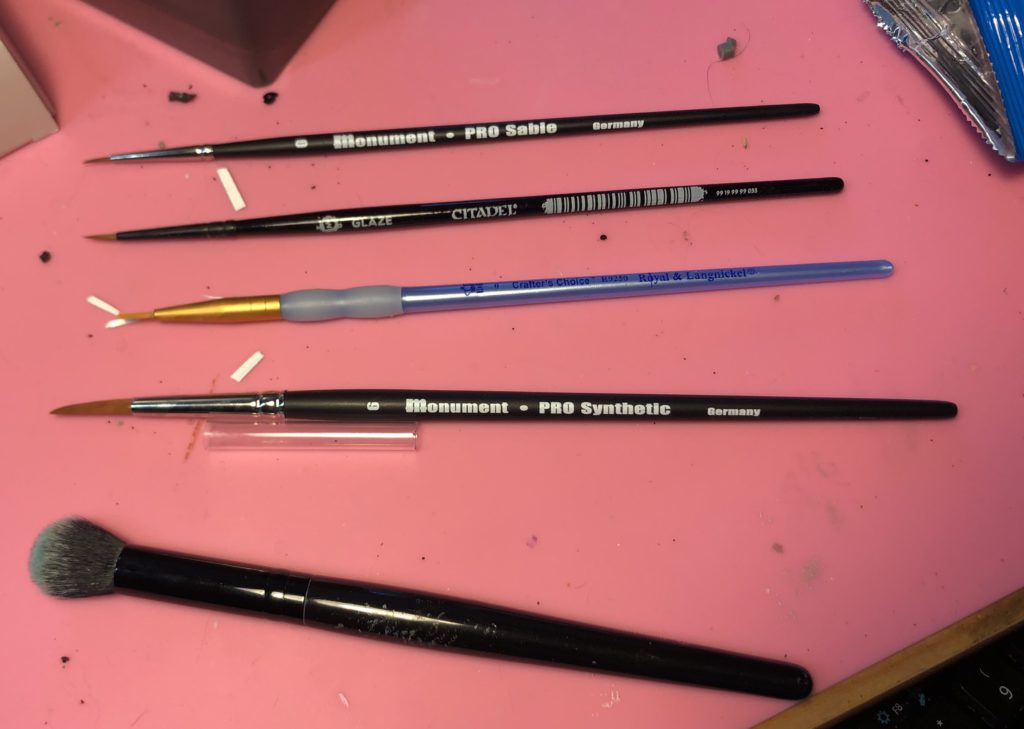
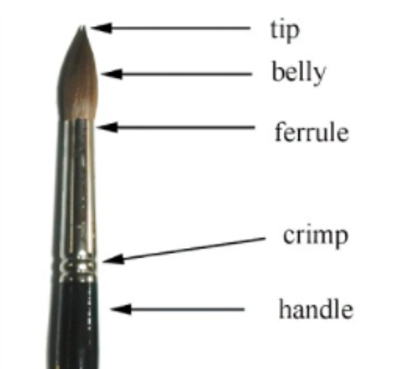
If you get a brush, and it doesn’t have a nice sharp tip on it, it’s not going to be a good brush for detail work, but it could be good for just painting large areas of the model, stippling paint, blending, or even as an “eraser.” Properly caring for your brushes is just as important as a brush with a good tip. Cleaning your brushes regularly will prevent paint from drying and damaging the bristles. When paint gets into the ferrule, it dries and will cause the bristles to splay out which ruins the tip. While this can be extremely important for expensive brushes, I can be a bit rougher on my cheapos, and toss them if they get too bad.
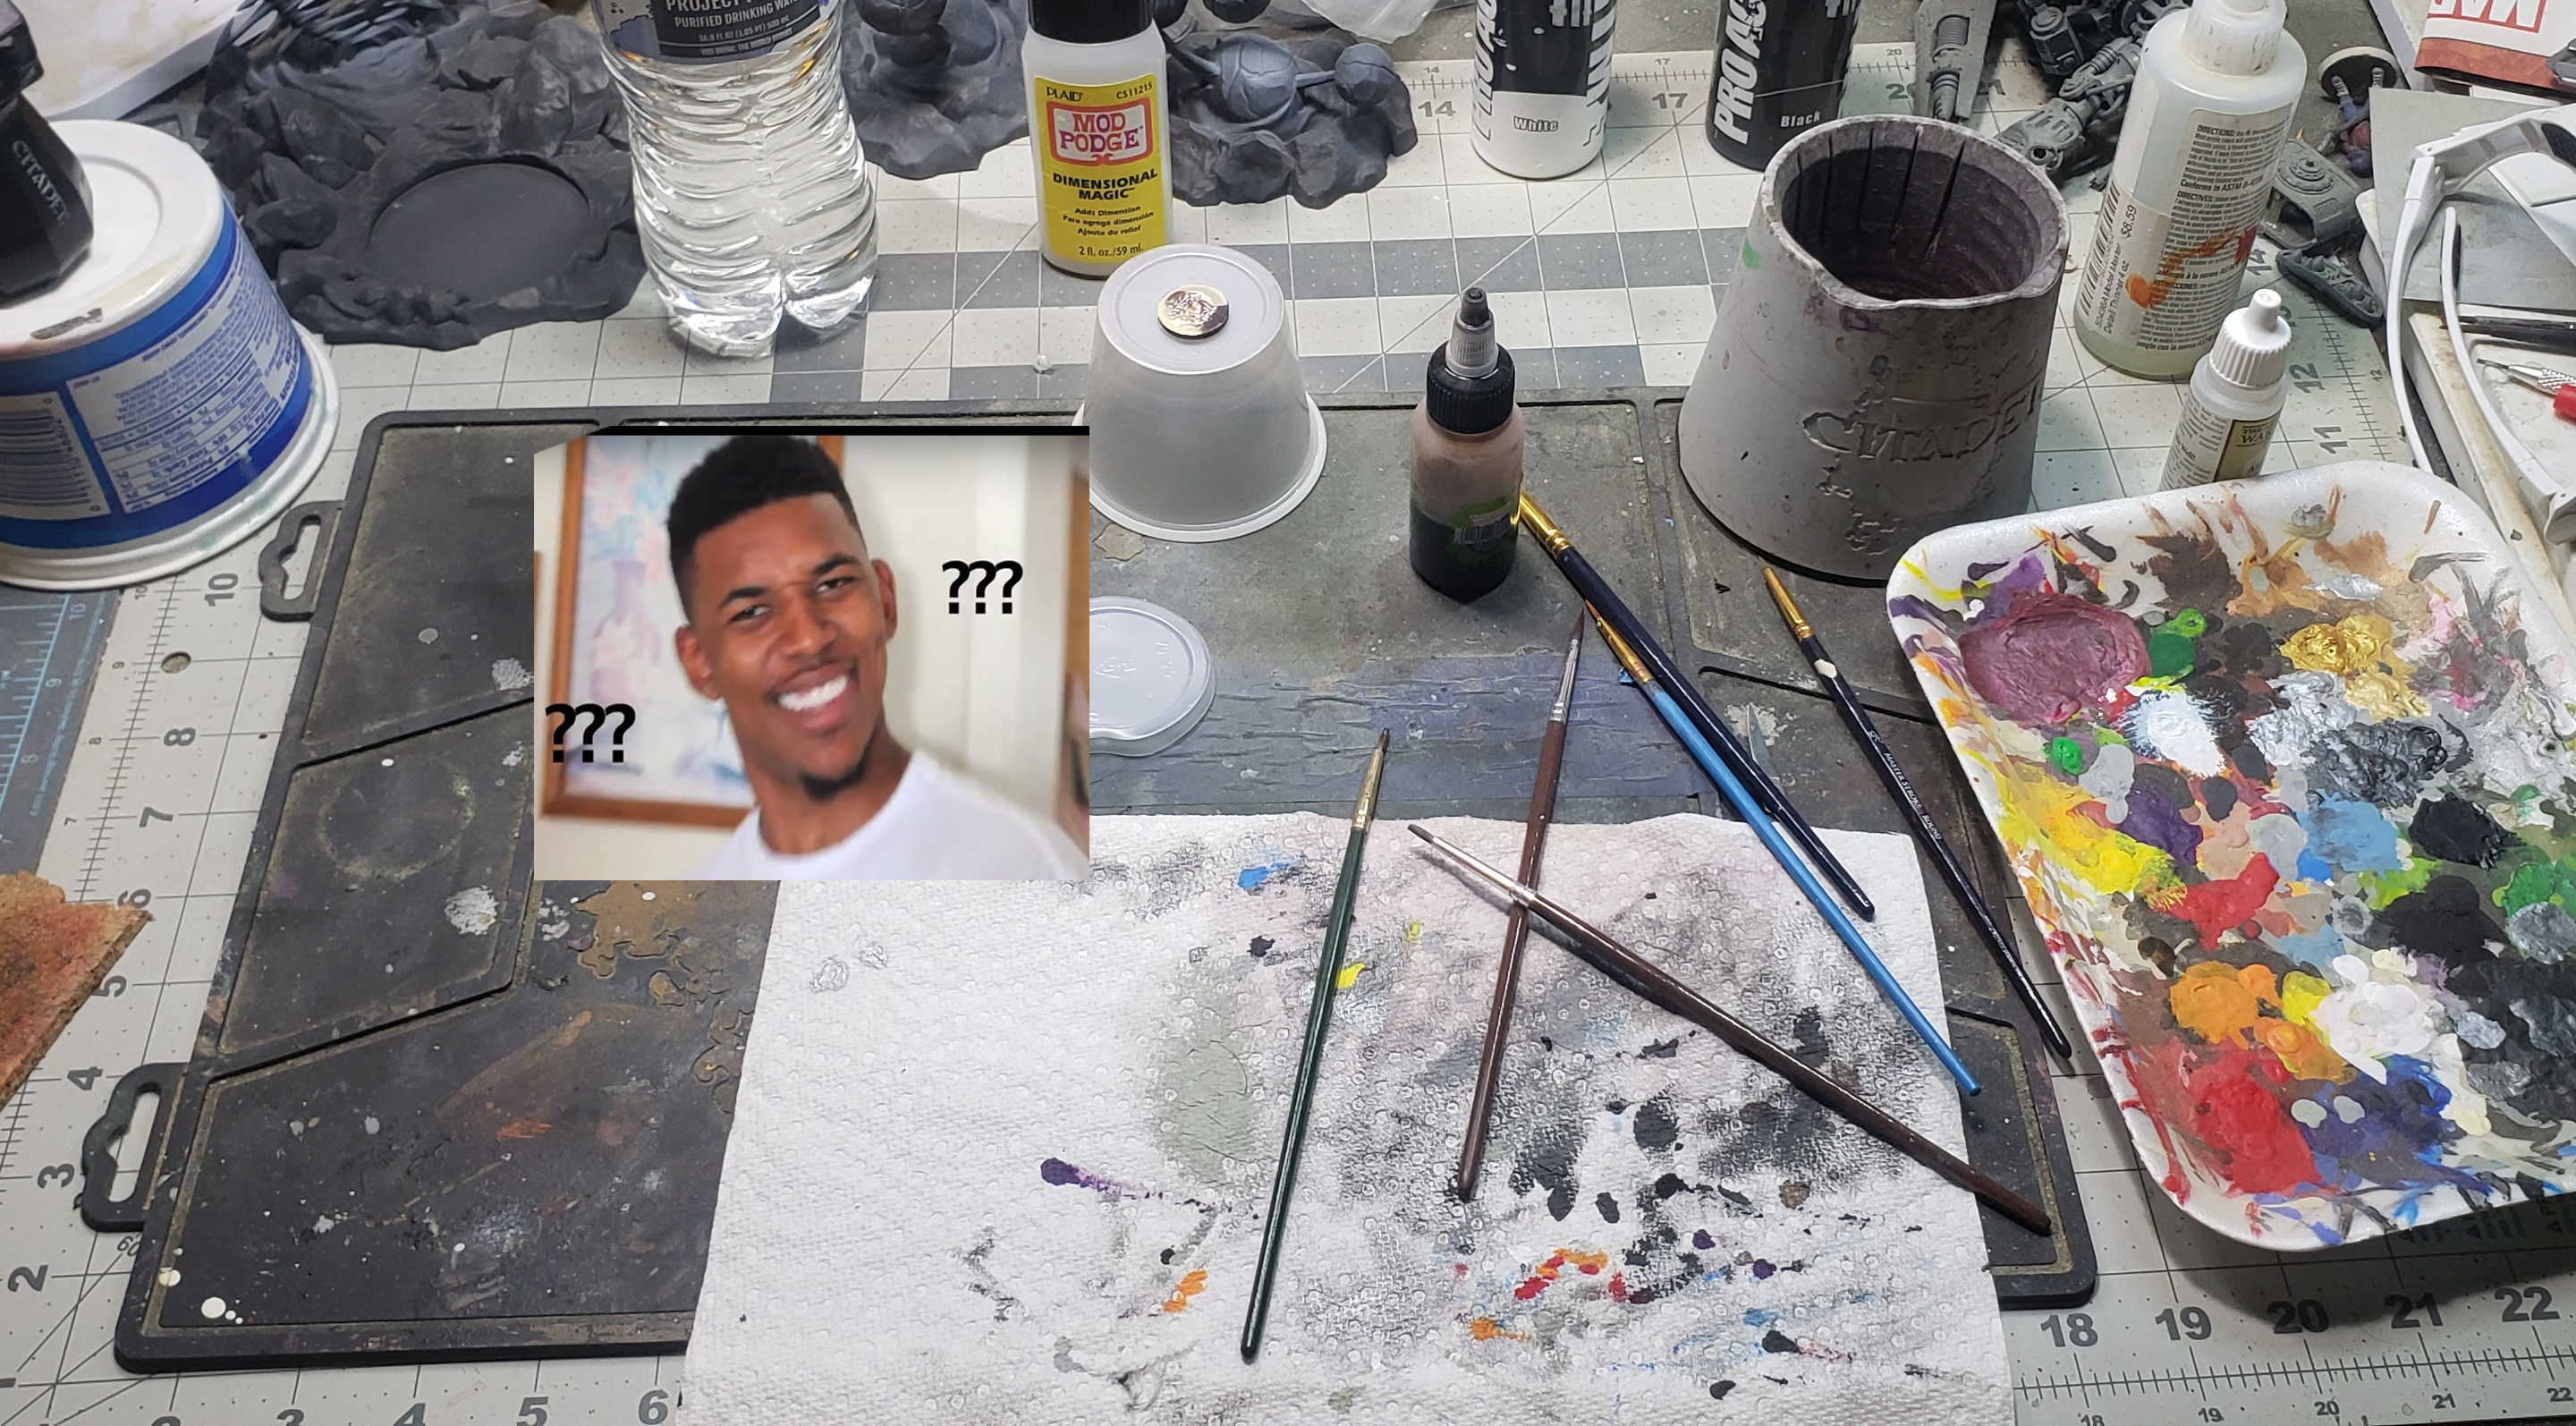
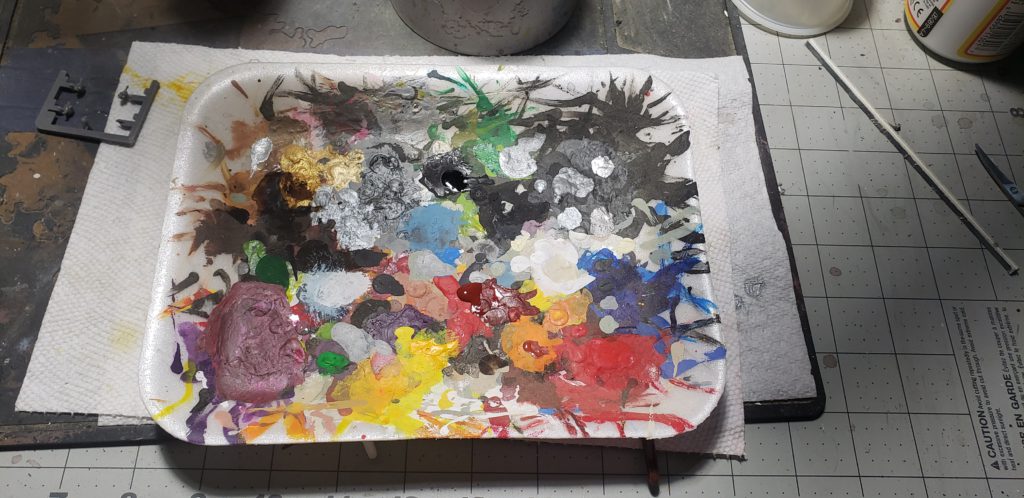
Lastly, let’s talk about how we get paint to brush. How is your paint stored? Citadel sells paints in pots, or little containers with a flip open lid that you can insert your brush into. When using these paints, it is perfectly acceptable to go from paint pot to model. If your brush is damp, it will naturally thin the paint slightly, and will go on relatively smoothly. Other companies, like Vallejo and Army Painter, sell paints in a dropper bottle. This paint must be put onto a pallet, and then brushed onto the model. A pallet can be anything really. Citadel sells a pack of paper that is supposed to be used as a pallet. Some companies like Army Painter sell a “wet pallet” that can be sealed and will keep paints from drying out between sessions. I’ve used a torn sheet of parchment paper from my kitchen as a pallet before. I’m currently using a foam tray, and it’s worked surprisingly well (it’s starting to look like a car manufacturer’s paint booth though).
Sealing the deal
Alright, so your model is painted, and now you want to make sure it’s safe forever because you don’t want to have to paint it again. Let’s talk about varnishes. Like everything else we’ve discussed, there are several styles to choose from (brush on, spray on, and airbrush), and you can refer back to the priming section for the advantages and disadvantages of each. I will point out that you are going to want a matte varnish, or at the very least satin. Gloss varnish on miniatures tend to be a little too shiny and should only be used if you are trying to represent a glass surface or highly polished metal. Matte varnishes on the other hand will better represent skin, cloth, and worn metallic surfaces, providing a more natural look. Simply apply 1-3 thin coats of whatever varnish you decide to go with, allowing for adequate drying time between each coat, and your paint job should be protected from most light to moderate use.
Hobby Time, TNG
Final topic of discussion for today’s article, items that aren’t necessities, but can be quite useful, and we’re going to do them bullet point style.
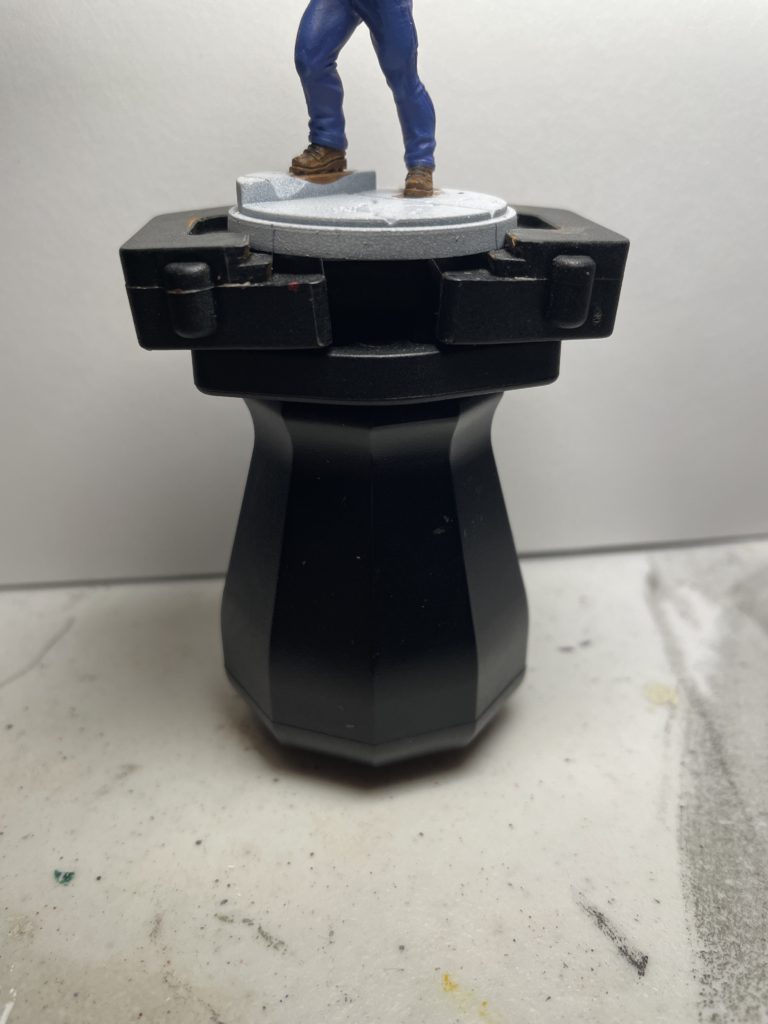
- Paint Handles
- Paint handles are things you can attach a model to so that you don’t actually touch the model when you are painting. Cork, medicine bottles, dowel rods, or actual paint handles made by companies are all good and have their uses.
- Wet Pallets
- I touched on wet pallets above but wanted to give it a bit more discussion here. Wet Pallets use a sponge and porous paper to keep the paint hydrated for a much longer period. This is great when you are painting large models, or large armies, and are unable to do it one sitting. Mix a special color that you want to use on all your banners? A wet pallet will keep it for at least a few days.
- Magnifiers
- I’m getting older, and my eyesight isn’t what it used to be. Companies make lights with giant magnifying lenses built in. There are also head magnifiers with lights built in, and even just reading glasses can work to help pick out some fine detail.
- Lighting
- This really should be the most important thing. Having adequate light while painting will almost instantly up your paint game. Get better lights.
That’s all for today. Next time, we’ll take a deeper dive into paint, the different types of paint, and what they can do for you. If you have any questions, you can find me on most of the discords, or comment down below.
My Brushes: https://amzn.to/3pHg50D